Setting up your own CalDAV server
Intro
Lately, I have been receiving quite a few business-related calendar invites. Since I have my own domain (not hosted by Google or Microsoft), I always had to send a response through my personal Gmail. But then I started to wonder - how does Google do it? After a bit of research, I have found the solution - CalDAV
CalDAV
What is CalDAV? CalDAV is a protocol extension to the WebDAV, which is an extension to the HTTP protocol. The simplest explanation is that every calendar event is stored as a file in a collection (calendar) that is stored on a server. From there, all subscribing clients are notified of the changes. Last this before we get to the configuration, we need an application server that already implements and understands the CalDAV protocol (or you are free to use your own implementation). For my personal use, I will be using Baikal, which is an open-source application server implementing CalDAV, WebDAV and also (v)CardDAV. Baikal is written in PHP and offers web-based configuration portal, so I strongly suggest you set up an HTTP server with PHP-FPM module as well (both Apache and Nginx are supported). The Baikal's docs also provide a sample config for these web servers.
Configuration
To host your own CalDAV server, you will need the following:
+ a Linux server with root access
+ MySQL/Postgres/SQLite for calendars, events, etc. storing
+ Apache/Nginx for HTTP for Baikal's web panel, PHP-fpm module installed with selected database module
At this stage, I'm just gonna assume you have your Nginx/Apache set up and are ready to continue.
If not, now is the time to do so.
Firstly, we need to download the latest release of Baikal and deploy it onto our server.
To do so, we can execute the following command which will change your current directory to the /var/www folder, download the latest release of Baikal and unzip it.
Make sure to replace the {version} placeholder with the latest version available at the moment.
cd /var/www && wget https://github.com/sabre-io/Baikal/releases/download/{version}/baikal-{version}.zip && unzip baikal-{version}.zip
e.g.
cd /var/www && wget https://github.com/sabre-io/Baikal/releases/download/0.10.1/baikal-0.10.1.zip && unzip baikal-0.10.1.zip
If all finished successfully, you should have the directory /var/www/baikal available.
Before accessing the web portal, we need to allow access for the HTTP server into two Baikal's folders.
We can do that using the following command:
cd /var/www/baikal && chown -R www-data:www-data Specific config
If you have your HTTP server set up properly, you should now be able to reach the Baikal configuration site by your specified server_name URL, which you configured in the HTTP server.
The page will guide you through the setup process quite swiftly.
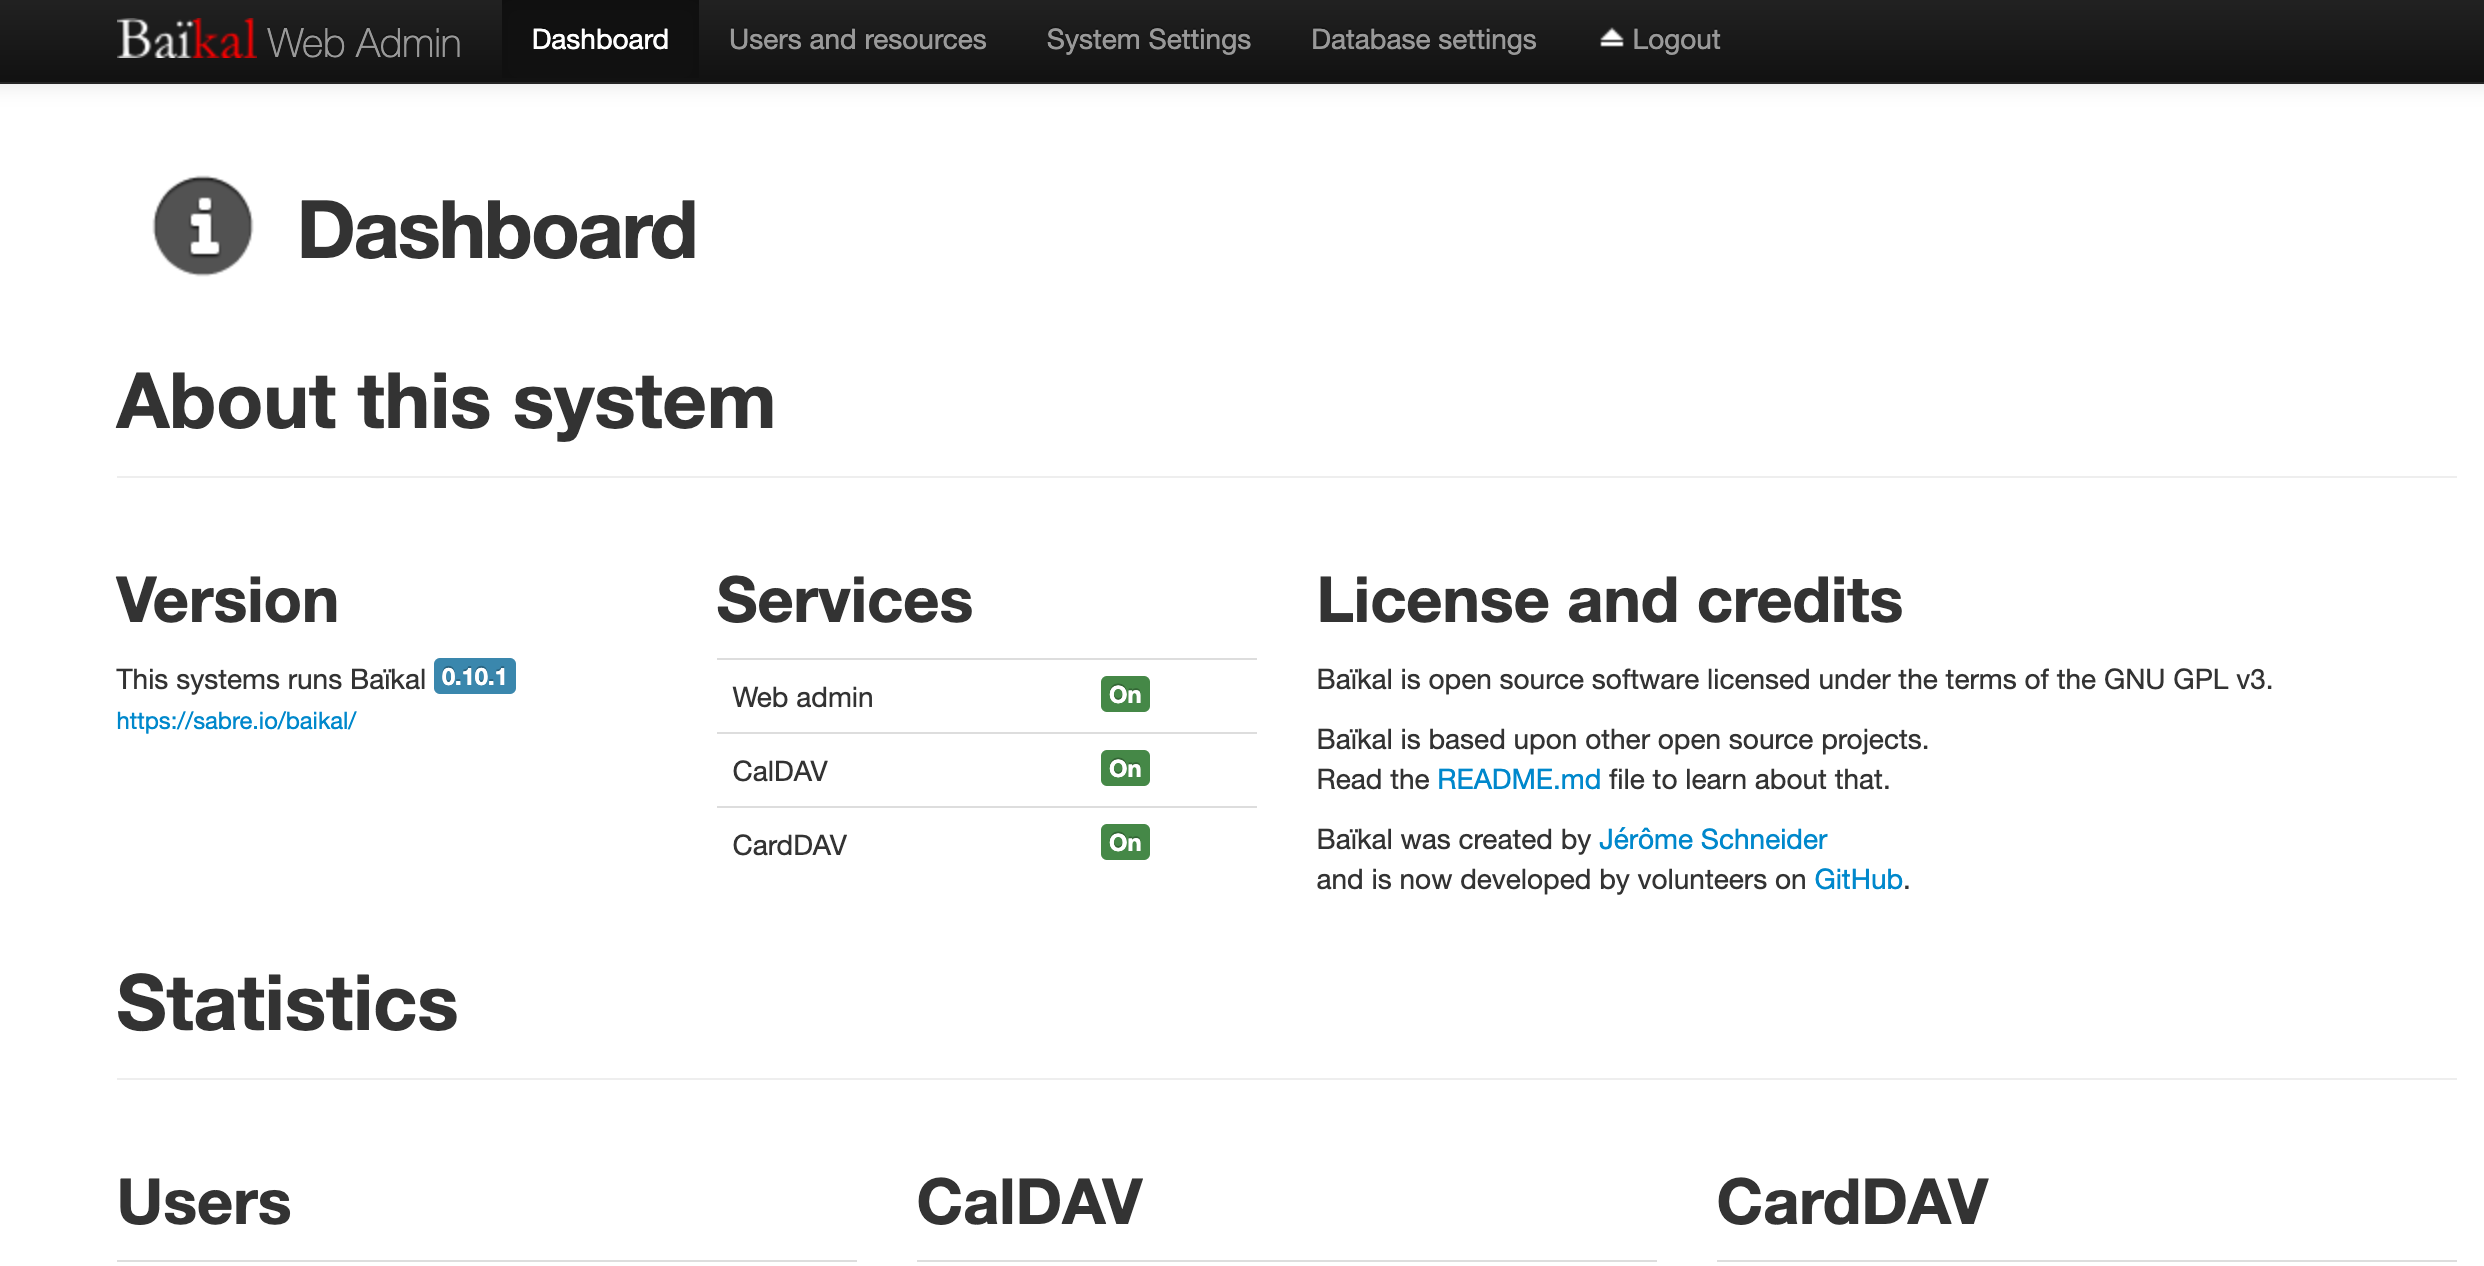
If you have done everything correctly, you should be greeted with the following page:

At this moment, you can create new users and calendars to import to your client applications, such as Apple Calendar, Thunderbird, Outlook, etc.
Feel free to try out your own installation now!
Mailing support
Last thing to configure is the emailing of changes of the events, including acceptance/declining of the events. For this, you will need an email account which will serve as the sender of the status updates, an STMP server settings that the account will connect to and send emails through and a mailing agent. For the emailing agent, I will be using postfix which can be install by your package manager in most Linux distros. After installing postfix, you will need to configure yourphp.ini to use postfix instead of sendmail, so make sure the sendmail_path parameter is uncommented and points to the postfix executable.
Now, let's configure postfix itself. In the
/etc/postfix/main.cf file, add the following settings:
smtp_tls_security_level=encrypt
			smtp_sasl_auth_enable = yes
			smtp_tls_note_starttls_offer = yes
			smtp_sasl_password_maps = hash:/etc/postfix/sasl_passwd
			smp_sasl_security_options = noanonymous
			smtp_sasl_path = smtpd
			smtputf8_enable = no
			smtp_generic_maps = hash:/etc/postfix/generic
			relayhost = {smtp_server_address}:587
Make sure to replace the
{smtp_server_address} placeholder with the actual server address.
Also, this is a setup for SMTP over port 587 using STARTTLS as my VPS provider blocks port 465.
If you want to use SSL over 465, please refer to the postfix's documentation.
Next, create file
/etc/postfix/sasl_passwd with the following contents:
{smtp_server_address}:587 {baikal_invite_from_email_address}:{password}
e.g.
smtp.example.org:587 noreply@mydomain.com:password1234
and then run the following command:
sudo postmap /etc/postfix/sasl_passwd
Next, create file
/etc/postfix/generic with the following contents:
www-data@{your_domain} {baikal_invite_from_email_address}
and then run the following command:
sudo postmap /etc/postfix/generic
Finally, restart postfix using
sudo systemctl restart postfix and you should now have everything set up and configured!
Congratulations! You have now configured your own CalDAV server with emailing support!